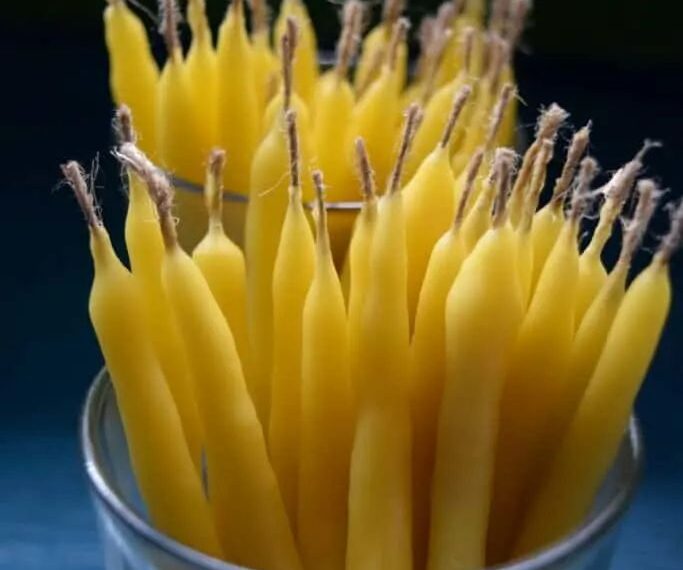
Step-by-Step Instructions for Making Hand-Dipped Beeswax Candles
Here’s how to create your own hand-dipped beeswax candles, perfect for fall:
1. Prepare the Beeswax
- Start by melting your beeswax using a double boiler. Heat it gently over medium heat. Avoid direct heat, as beeswax is flammable. Once melted, keep it at a stable temperature of around 160-170°F (70-75°C) to ensure it remains pliable for dipping.
2. Prepare the Wicks
- Cut your cotton wick to the desired length, ensuring it’s a bit longer than the height of the candle you want to make. Attach the wick to a long dowel or wooden spoon by wrapping one end around it, allowing the other end to hang freely for dipping. If you want to make pairs, tie two wicks on either end of the dowel.
3. Begin Dipping
- Once your wax is melted, dip the wick into the beeswax and then quickly pull it out. Allow the wax to cool for a few seconds before dipping again. Each dip will add another layer of wax to the candle. Continue dipping the wick, allowing each layer to set before the next dip. The wax will harden and thicken as you repeat the process.
4. Shape the Candles
- As the candle begins to take shape, rotate the dowel between your fingers to ensure an even coat. If you notice lumps or uneven sections, gently press or roll the candle on a smooth surface to correct the shape. Keep dipping until your candles are as thick as you like.
5. Let Them Dry
- Once the candles have reached your desired thickness, hang the dowel horizontally to let the candles cool and harden completely. Trim the wick to about ¼ inch before lighting.
6. Finishing Touches
- You can leave the candles as they are for a rustic look, or gently smooth the surface with your hands if you prefer a more polished appearance.
Tips for the Best Results
- Choose the Right Wick: Beeswax is denser than paraffin, so make sure your wick is thick enough to burn beeswax evenly.
- Patience is Key: Don’t rush the dipping process. Give each layer a chance to set before dipping again for smooth and even candles.
- Add Essential Oils: If you want a subtle fragrance beyond the natural honey scent, consider adding a few drops of essential oil to the melted beeswax.
The Benefits of Hand-Dipped Beeswax Candles
Making your own beeswax candles is not only a rewarding DIY project, but it also offers several practical and health benefits:
- Natural Glow: Beeswax emits a soft, amber light that’s closest to natural sunlight, making it easier on the eyes.
- Purifies the Air: When burned, beeswax releases negative ions that help neutralize pollutants in the air, making your home feel fresher.
- Non-toxic: Since beeswax is all-natural, there are no harmful chemicals or additives, ensuring a healthier home environment.
Conclusion
This fall, take a step back from store-bought candles and experience the joy of creating your own hand-dipped beeswax candles. With minimal materials and effort, you can craft beautiful, long-lasting candles that bring warmth, light, and a touch of handmade charm to your home. Whether you make them for yourself or as thoughtful gifts, the process is an enjoyable and fulfilling way to embrace the season.
Pages: 1 2


