Step-by-Step Guide:
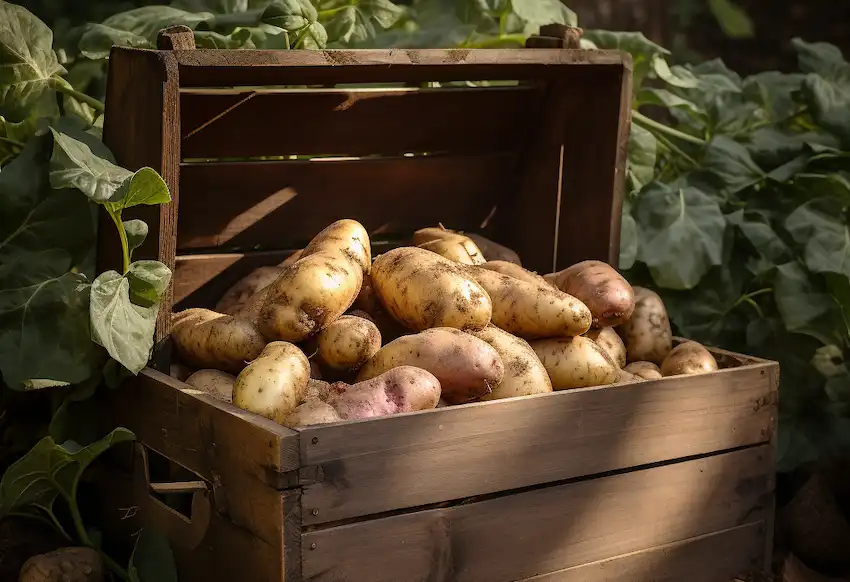
- Prepare Your Containers or Towers:
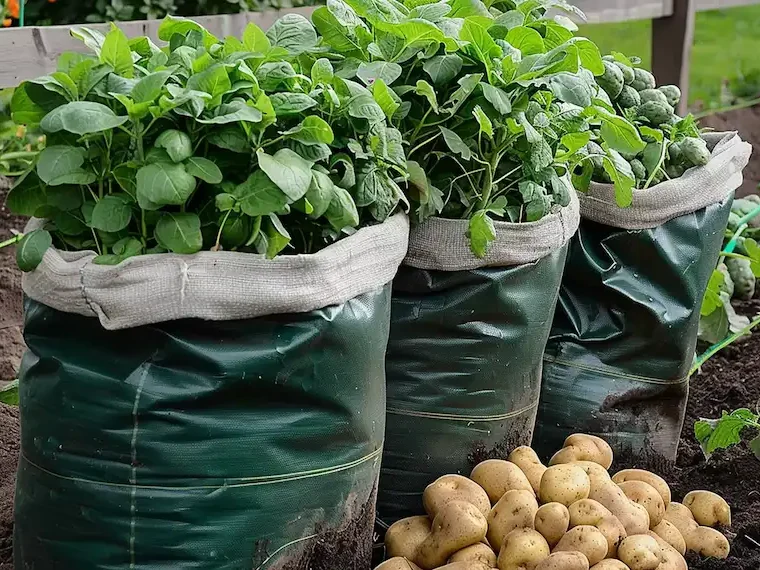
- Choose or construct your potato towers. Popular options include stacking old tires, layering wooden crates, or using purpose-built wire or plastic towers.
- Ensure each tower or container is at least 2 feet tall and has adequate drainage holes.
- Prepare the Seed Potatoes:
- A few days before planting, prepare your seed potatoes by cutting them into pieces. Each piece should have at least one or two eyes (buds).
- Let the cut pieces sit in a cool, dry place to allow the cut surfaces to heal and form a protective layer.
- Planting:
- Fill the bottom of your container or tower with a few inches of compost or soil.
- Place the seed potatoes with the eyes facing upward, spacing them evenly apart. For towers, you can plant in layers, adding more compost or soil as you stack.
- Cover the seed potatoes with about 4 inches of soil.
- Growing and Hilling:
- As the potato plants grow and reach about 6 inches tall, add more compost, soil, or straw around the stems, covering about half of the plant.
- Continue hilling up the soil or mulch every few weeks as the plants grow taller. This encourages more tubers to form along the buried stems.
- Watering and Maintenance:
- Keep the soil consistently moist but not waterlogged throughout the growing season. Potatoes need regular watering, especially during hot weather.
- Monitor for pests and diseases, and take appropriate action if necessary.
- Harvesting:
- Potatoes are typically ready for harvest 10-12 weeks after planting, depending on the variety and growing conditions.
- Carefully dig around the base of the plants to harvest your potatoes. Be gentle to avoid damaging the tubers.
- Storage:
- After harvesting, allow the potatoes to dry in a cool, dark place for a few days. Then, store them in a cool, dry, and dark location for long-term storage.
Tips for Success:
TO CONTINUE READING SEE NEXT PAGE
